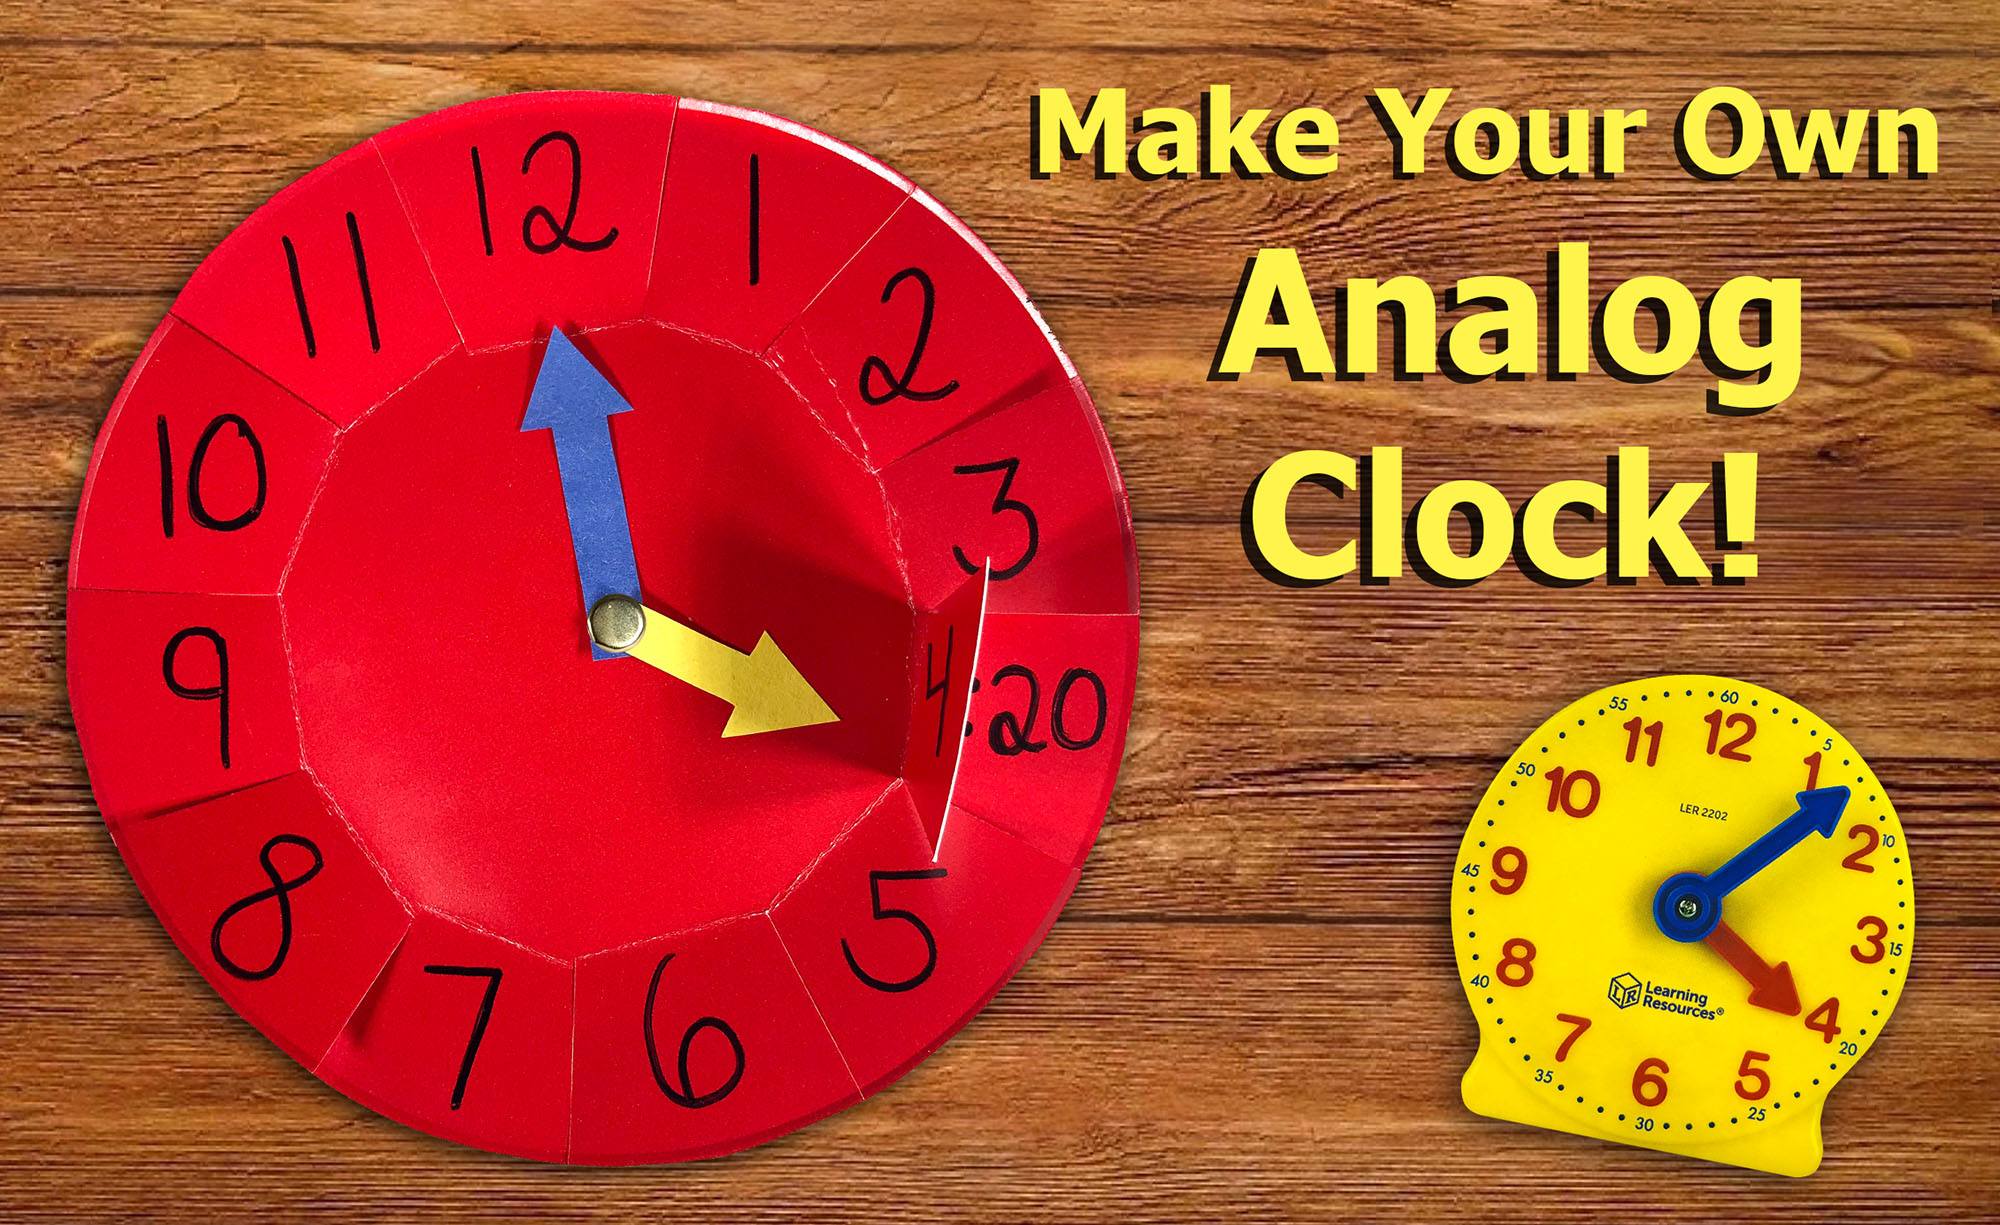
It's time to practice basic telling time skills! In this activity, children will practice identifying the five-minute interval associated with each number on an analog clock. They will do this by making their own analog clock from two paper plates. It's simple, easy, and fun! Read more to find out how to make your own analog clock!
For this math activity, you'll need two paper plates, a pair of scissors, a black marker, two different-colored pieces of construction paper, and a brass paper fastener.

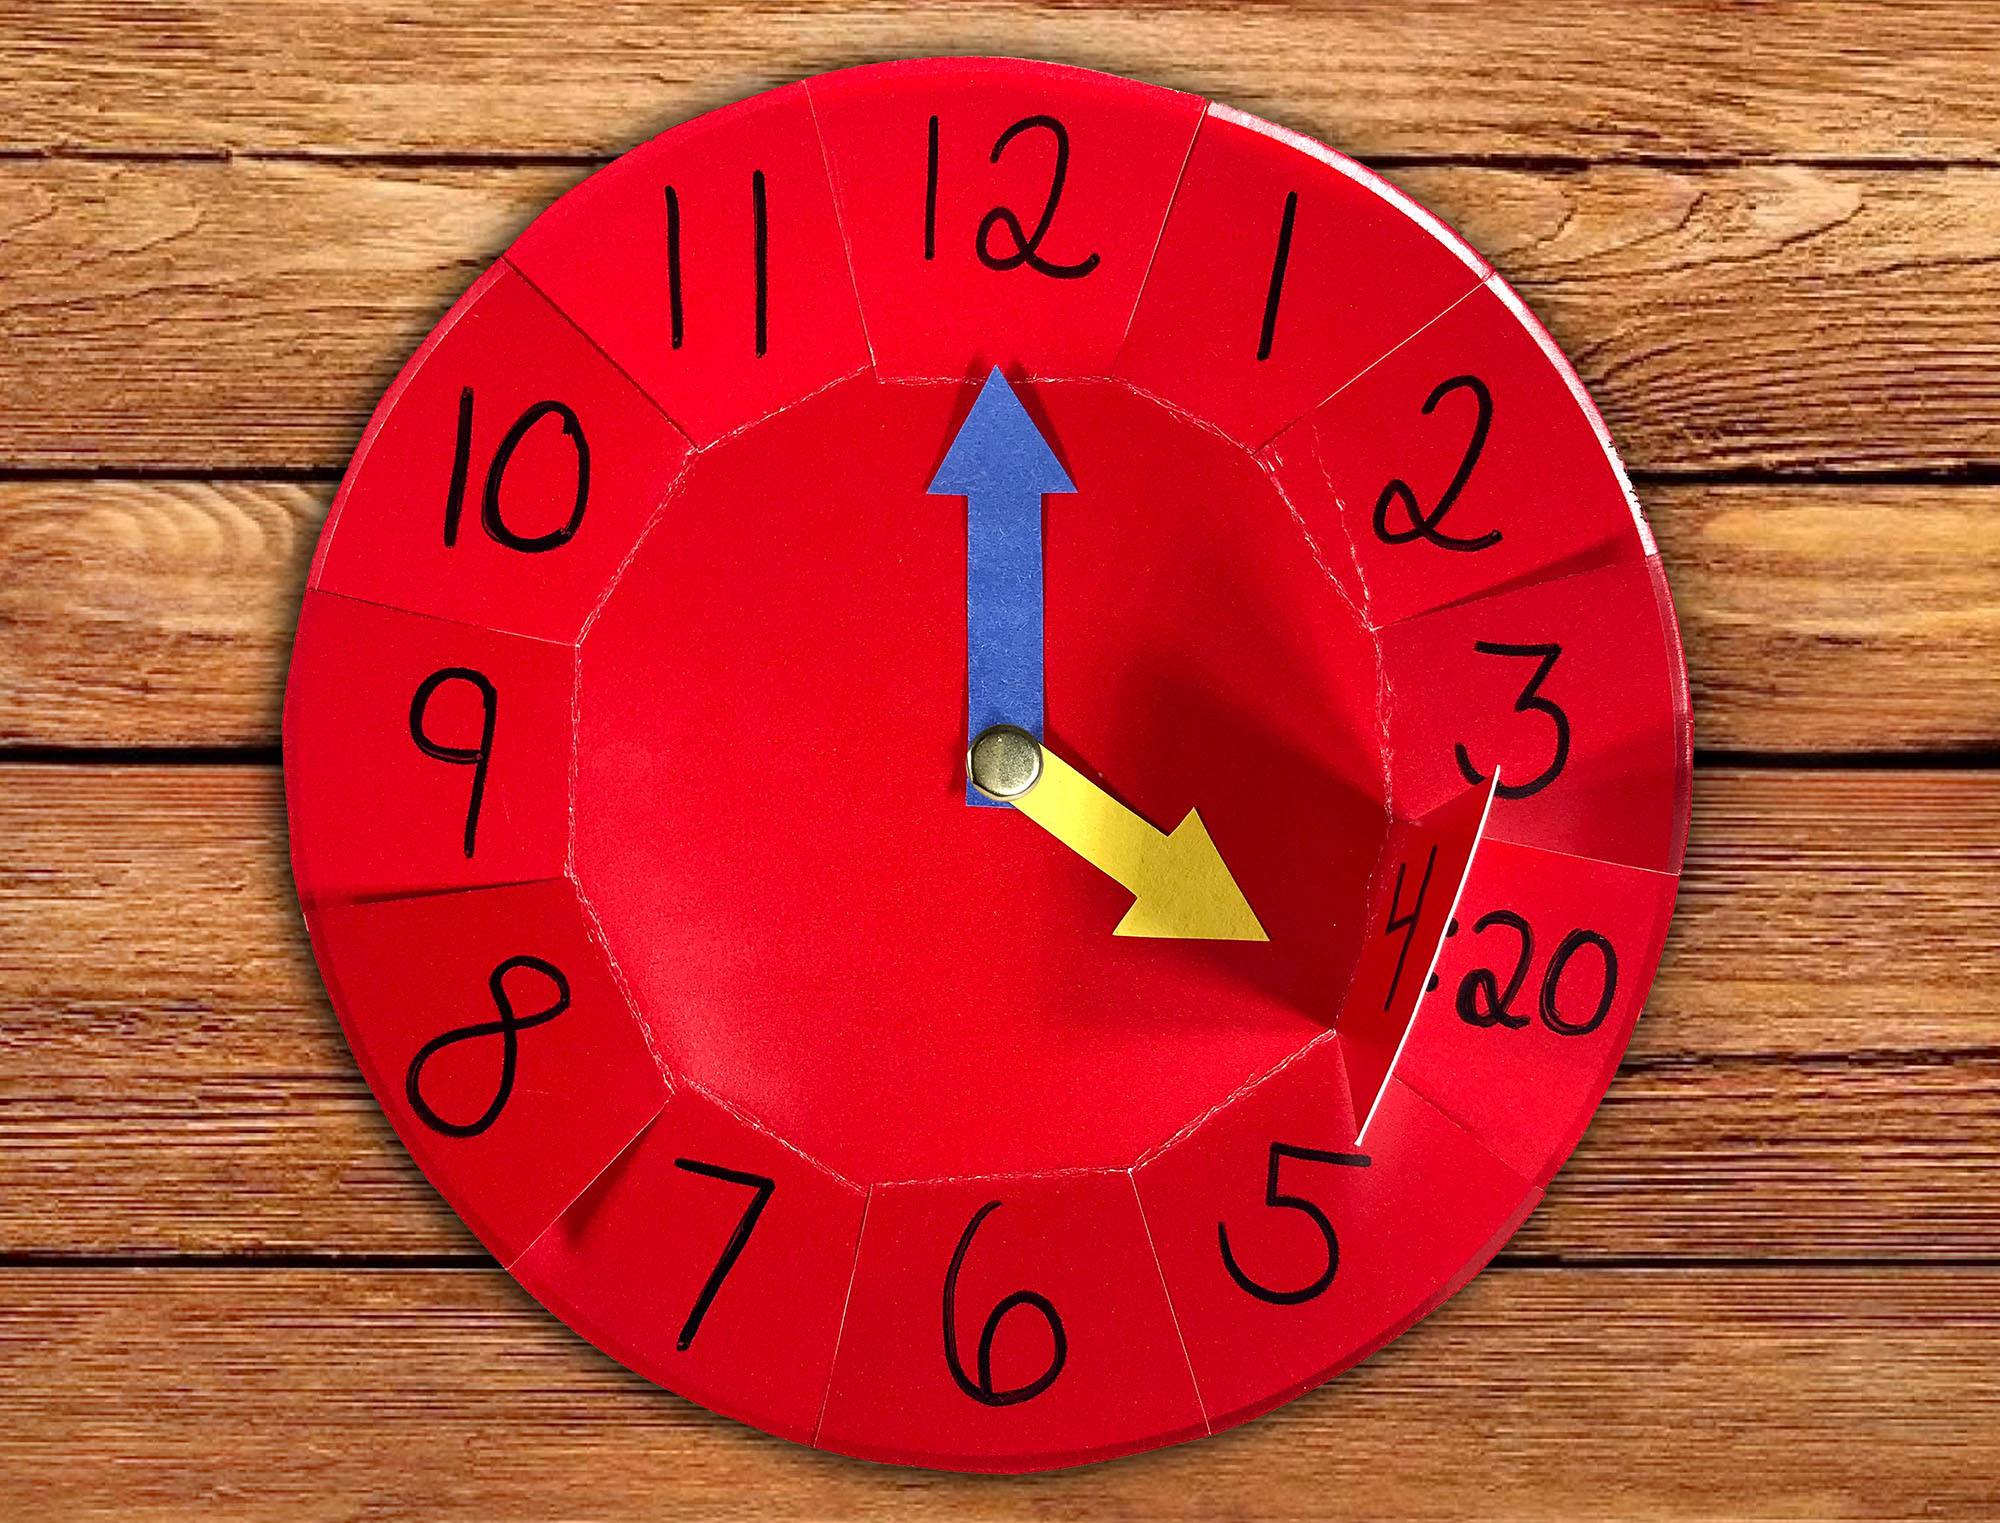
First, cut away the outer rim of both paper plates. Write the numbers 1 through 12 on one of the paper plates, evenly spaced around the outside. Use scissors to make small cuts between each of the numbers, and fold the tabs toward the inside of the circle.
Second, lay the numbered circle on top of the blank circle. With the tabs folded back to reveal the blank spaces underneath, write in the five-minute intervals on the blank circle. (:00, :05, :10, etc.)
Next, cut out a minute hand and an hour hand from two different-colored pieces of construction paper. It may be easier to sketch the arrows beforehand. Use a brass paper fastener to fasten the clock hands and both paper plates together.
That's all there is to it!
Now your little ones can practice identifying the five-minute interval associated with each hour on their handmade analog clock. You can quiz them by asking questions like “How many minutes past the hour is represented by the number '3' on the clock?” and “What number would the minute hand be pointing to at 30 minutes past the hour?”
How do you use analog clocks with your students? Drop us a line in the comment section below! We'd love to hear from you!
If you're looking for more exciting math activities for kids, be sure to try out our interactive math practice lessons on iKnowIt.com!